This blog documents the modifications necessary to get seaworthy (warts and all), then the adventures (hopefully) on board our Trailer Sailer 6.1 metre Jarcat6 Catamaran, Kismet.

Showing posts with label Chainplates. Show all posts

Sunday, 27 January 2019

Mast up for first time

After bedding and securing the chainplate bolts a couple of days ago, we bought Kismet home for the day of reckoning. Will the shrouds be the right length to stop the mast colliding with the rear of the cabin?

All good. Even the forestay was within adjustable range.


I had to add 30mm of padding under the front mast rooftop mount (for road travel).
I also raised the rear 'V' mount 50mm so that the spreaders cleared the cabin hatches.
You can see the old holes on the lower 'V' mount. The top 'V' mount "unplugs" from the mast support at the orange paint just above the lower 'V'. This reduces our travelling height so we don't take out any service station lights.

Unfortunately I picked a bad weekend to bring the boat home as my storage place isn't open tomorrow and we are too committed to other stuff to actually try to get sailing. I also need to mount the jib blocks and cleats and make a new tiller.

So there it sits in the driveway. I'm not allowed to put on the front lawn again.

I'm currently waiting for William to get home from work (yes on a Sunday) so we can lower the mast and store it on the boat. Since it's the first time we have ever lowered it, I'm not taking any chances that my better half could get injured lowering the mast. (I'm not sure how much he helped me when raising it...).


Friday, 4 January 2019

Chainplates done - Tacktrack repairs & bedding

The Chainplate woodwork is complete and we have successfully drilled the 6mm holes for the bolts. I have to patch-paint the outside of the hull were the old holes were then we are ready to bolt them up. I'm very happy with the result - although it looks a bit messy on the inside.

The top of the elongated holes on the chainplate extensions lines up with the hole in the existing chainplates. The top drilled holes line up with existing and new pieces.

Starboard - I was able to brace across the hull on this one so I could keep it pretty clean of epoxy.

Port - I had to use masking tape and plastic sheet so couldn't see the result until next day. I'll clean it up a bit but it's very solid.

The chainplates are on an angle on the insides of the hulls so the bolts would be under bending strain if bolted up as they are. So I'm also making 12 degree washers so that the nuts can bolt up flush.
I'm using large Stainless Steel washers on a chunk of wood temporarily set on a 12 degree angle with epoxy dribbled into a "mould" made from masking tape. We'll see how that goes.

I'll check them tomorrow.

MAIN TRAVELLER
The main traveller has been re-mounted on a bed of Sika 291 with 10 of 75mm screws, 2 of 89mm screws and 6 of the original 50mm screws (the outside 3 on each side). I didn't epoxy any screws in but they are quite tight and with mostly 50mm penetration into the transom I can't see them letting go.
Sorry no pictures as yet.

TACKTRACK
I deliberated leaving the tacktrack in place and just removing each screw and epoxying them in but finally decided to removed it entirely.
Part of the top of the tacktrack support was slightly cracked and peeled away a chunk when the track was removed. That was bad and good. Bad because I have to repair it, good because it showed that the builder had used at least SOME fibreglass when the upper deck was built.

The tacktrack support with the track removed.

Close up of the worst damage.

The chunk that came off. You can see the woven pattern.

I'll be bedding the tacktrack with Sika 291 and screwing it almost down, then next day I'll remove the screws one at a time and inject epoxy into the hole and quickly re-insert the screw. Quickly because they are not blind holes so the epoxy will dribble through.

I'll have to be quick with this process because the screws have to be nipped down pretty much bit by bit so as to not strip any one screw hole trying to take all the strain. (This wait-until-next-day to tighten is recommended by Sika to prevent the bedding compound being completely squeezed out).

Sunday, 23 December 2018

Chainplates - The actual Wedges

The wedges that match the chainplate strap angle to the hull were epoxied into position the day before yesterday. I epoxied the chainplate extensions on yesterday - sorry forgot to take pics today.

Today we drilled the 6mm holes (from the inside) through the hardwood and hull.
Everything went really well - meaning nothing broke away or fell off. I'm very happy with the strength although it could look a bit better cosmetically on the inside.

I'll get pics of the extension pieces next time I'm at the boat. It's Christmas eve day tomorrow so I'm not sure if I'll get there.
Next is re-mounting the main traveller - drilling all the holes again, sealing the screws in with epoxy and bedding in the I-beam with Sikaflex 291.

Starboard.

Port

Thursday, 6 December 2018

Chainplate Support Epoxied to Hulls

The first support hardwood is epoxied on.
Starboard side.
Port side.

My work area - at least half of it. I'm using a chunk of core flute as a spill-catcher.

Top tiller support.


The chainplate epoxy job wasn't perfect. The next morning I visited the boat to clean up the epoxy and I reckon the bottom 2/3 are solidly bonded to the hull (correct ooze) but there are probably a few little voids at the top 1/3.

I used the two-part process where the pieces are coated with un-thickened epoxy then then left a little while and the thickened then used. Because I'm using such a slow hardener (the BoteCote non-yellowing one) the unthickened didn't really tack-off. The thicker stuff slumped a bit. I'm quite sure I couldn't move it with a Jemmy bar, so I'm not too worried.

So next stage (when our mini-heatwave subsides in a day or so) is fabricate the weird hardwood wedge shapes between the bit I just glued on and the stainless steel. Weird because the two sides are different.

Tuesday, 4 December 2018

Chainplate wedge stage one

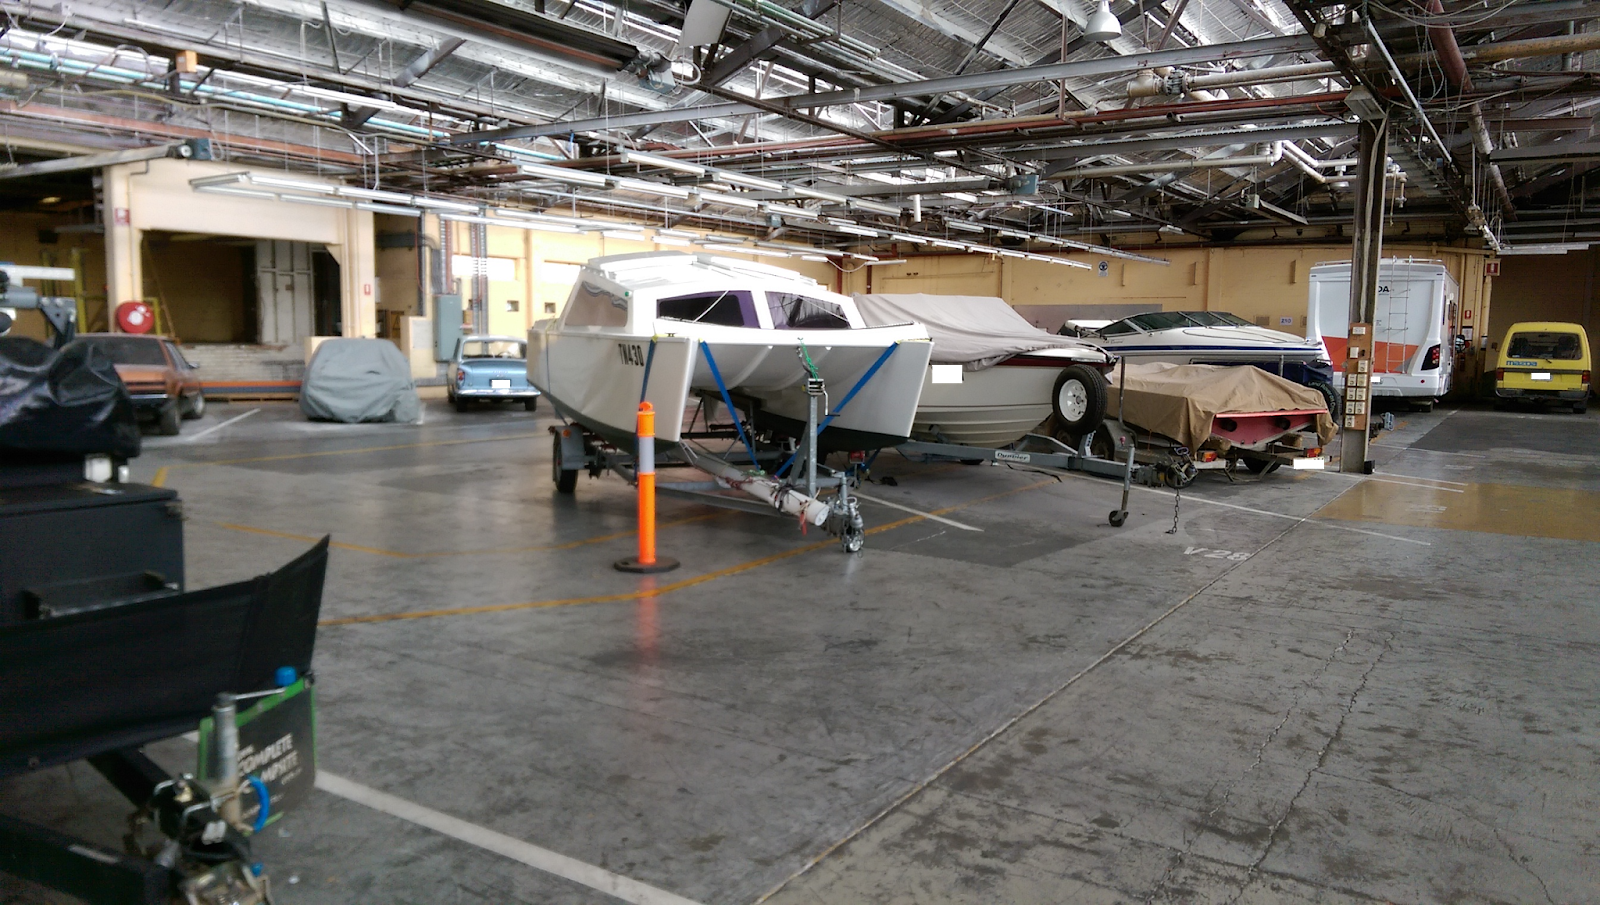
Kismet in storage with my $85 eBay telescopic ladder. (Since taking this picture I have since roped the ladder to the boat for a bit of security while getting on and off.)

Today I managed to trim down the port side chainplate stage one wedge to allow the extension stainless steel to fit. I don't need to do this to the starboard one as it clears OK. I.E. The bottom of the new chainplate extension doesn't quite touch the timber piece.

Makeshift workbench.

This is my cut-down chainplate extension temporarily bolted on so that I can get the taper correct.
Method: Measure for fit, get off boat, chisel and dreadnought (wood file), get on boat - repeat...

Once these timber bits are epoxied to the hulls, the next step is to accurately manufacture a timber wedge shape to fill the void behind the stainless steel bits. Again, different for each side.

Bye Kismet, see you tomorrow. I'm off to water our oversewn front lawn.


Friday, 30 November 2018

Prep for new Chainplate wedges

I had a few hours for Kismet today. The port side had been mostly painted where I needed to glue (epoxy) my new support hardwood.

So I masked up the area and sanded back to almost bare wood.
The masking tape is 2 to 3mm outside the wedge area.

The starboard side was not painted as much so I sanded back the paint bits and ensured that I had roughed up the epoxy coating.

I also drilled out the lower existing chainplate holes to 6mm (the scuff marks aren't from my drill).
Then I went and got lunch...it took 1 1/2 hours (not lunch, the work).

I was hoping to get the wedges epoxied in place today but it was little too late in the day as I'd like to go back a few hours later to check nothing bad has happened.

Saturday, 10 November 2018

The Chainplate story begins

I retrieved Kismet from storage a couple of weeks ago but haven't had much time to do anything. I did investigate the chainplates though.

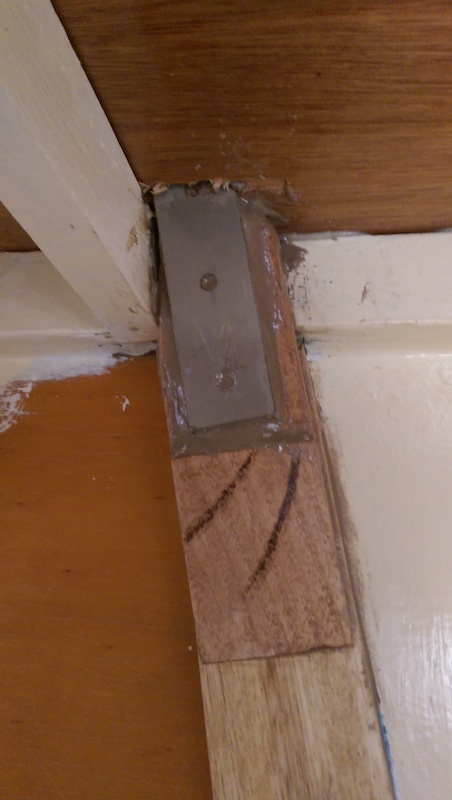
It turns out the a suspicion I had since I got Kismet was correct. The timber wedges supporting the chainplate bolts that are supposed to be epoxied to the inside of the hulls - aren't.

So there is a self tapping screw and one 3/16" bolt attempting to prevent the chainplate from being extracted up through the deck.


In additions, the wedge shown below used a combination of hardware and some softwood like oregon. The shorter piece is the softwood.

I guess that the shape of the wedge would provide some support as it bears against the lower edge of the timber running along the edge of the hull. Not good though.

I won't be replacing the chainplates but the plan is to add an extension and increase the bolt size to 6mm. I'll then add a second bolt for the extension. I'll increase the size of the screw as well. The screw and top 6mm bolt will join the extension to the existing chainplate strap.

The new wedges will be wider and be long enough for both bolts plus a bit.
(I'll also be sanding back the paint before epoxying them to the hulls.)

The fact that the wedges were not glued in helps me enormously as it allows me to simply make a whole new pair of wedges rather than attempt to add material to the existing wedges. I'll use about the left 2/3rds of the extension piece below (Ronstan RF47). Using the elongated hole (the very top of it) and the next hole down lines up exactly with the holes in the existing chainplate. The next hole along (about the centre one) will be the extra 6mm bolt going through the timber wedge and hull. I have stainless steel mudguard washers for the outside of the hull. I'll pre-tension the extension as much as possible when doing up the bolts.

I have had to store Kismet again but I have changed storage places and can now get access to the boat every day - about 20 minutes drive away. I am allowed to work on it while in storage (no welding or grinding or mess), so I'll be able to progress now without killing our front lawn.