This blog documents the modifications necessary to get seaworthy (warts and all), then the adventures (hopefully) on board our Trailer Sailer 6.1 metre Jarcat6 Catamaran, Kismet.

Showing posts with label Interior fitout. Show all posts

Wednesday, 20 May 2020

Kismet Interior Pictures

Here are some interior pictures of Kismet. I didn't want to publish these until we had the curtains under control. The bottom of the curtains wasn't held against the cabin wall until recently.

Port side. EPIRB (reachable from port entryway), Drop down tables, Cutlery roll (grey) and storage containers.

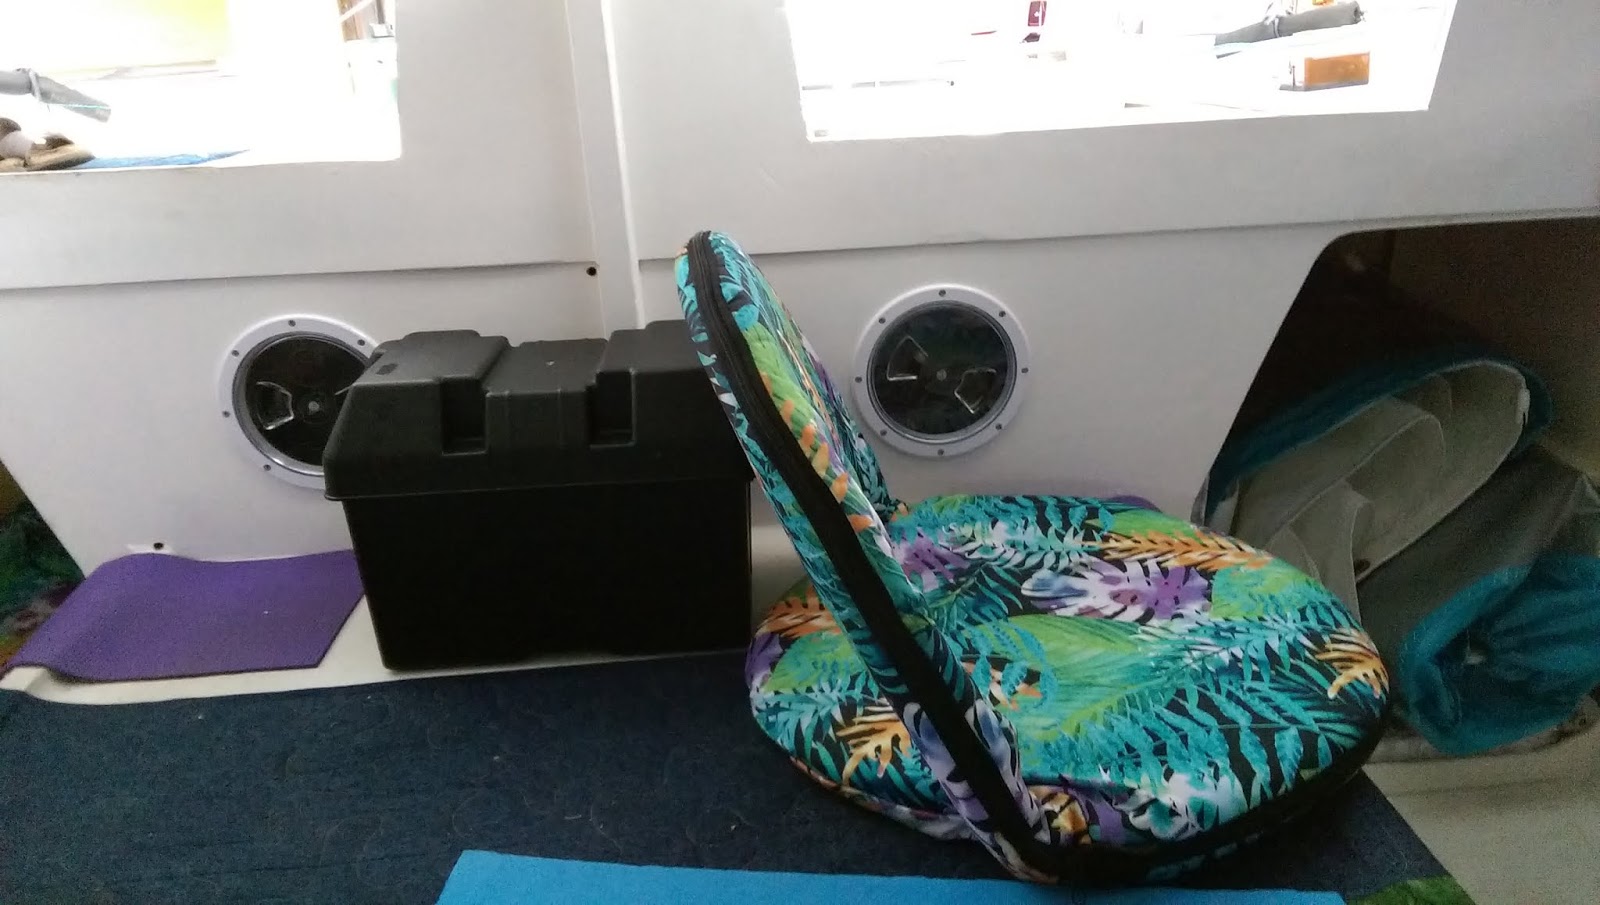
Starboard side. Battery (100AH LiFePO4) (with drinking water temporarily on top), Rubbish bin - it moves around depending on land or water operation. The Origo single burner alcohol stove is in the forward locker in its box. Note the grey hull liner. I might put more of this below the stringer as it worked out really well.

View from Starboard entryway.

More general port side view. The pillows aren't the ones we use. I leave them there for times when we haven't got the main bedding on the boat in case I'd like to have a lie down...
The bed consists of a layer of Aeromesh and a layer of 50mm "eggshell" foam. The full bedding adds a 70mm Synmat (high end inflatable camping mattress) and double sleeping bag.

Porta potti and fridge in the foreground. The fridge is a Dometic CFF45 that we ran at -8 degrees C during the Whitsundays trip.

12V electric switch panel and solar controller

A couple of plastic general use containers below the solar controller.
The dark grey plastic containers on the bed are useful for general stuff as well.

Port side looking back toward the stern. In the "coffin bed" there is an under-bed storage crate with our boat shoes, the Genoa, Jib and Main sail all in purpose made bags. The Boom slides up the side of the main. The boom tent and cockpit table are in there as well. We have two 1 meter long 45cm wide 80mm thick mattresses that makes this into a nice bed area with the person halfway out of the closed in space - only carried if we have three sleeping on board. (The starboard "coffin bed" holds the dagger boards, boarding ladder (water use) and PFDs.

The curtains. They use a caravan style track and four velcro pads at the bottom to hold them against the cabin sides. The hanging strip (this one in the corner) ties them back completely off the windows.
Fire extinguisher is reachable from the starboard entryway hatch.

Note the 12V faucet that can swing out of the way when not in use. The power for the tap is only available when the cabin light switch on the switch panel is on. There is a switch on the tap as well.
You can just see part of another cabin light that points at the tables. (The main cabin light is in the centre of the roof and has a red/white setting.)

The wash up basin and personal use basins sit in behind the tables.

Table up. The basins fit exactly under the faucet. The only problem with a switched tap and no flow control is when you just want to wet a face washer or rag briefly - it's an art!

30L water tank and 12V pump mounted near the bedding. We have another two 20L water jerry cans. We only took one additional jerry can on the water in the Whitsundays and it was plenty for three people for three days. The picnic knapsack in the port front locker contains our plate, bowls and mugs.

Water tank and first aid kit. Note hull liner.

Front windows. This is where the velcro works really well. They draw off the windows toward the centre. I installed a 20mm high lip so we can leave stuff on the front window ledge. Not when road travelling though.

We haven't actually had Kismet on the water since November 2019 so the correctly held curtains haven't been enjoyed yet. Just dangling vertically was a bit of a pain on the Whitsundays trip as it stopped us being able to use the front window ledge due to objects there getting too much sun (the curtains have black out lining).

Wednesday, 21 August 2019

Solar Panels and Electric wiring

Kismet came with two switches and some terrible unfused wiring for the Navigation lights and cabin light.
As indicated earlier in this blog, we wanted to run a 45 litre fridge and a 12V oven - and a couple of 100W solar panels.

The Solar panels were purchased off eBay with the sellers feedback indicating they worked OK but the terminal boxes fell off. I was duly warned.
They arrived and sure enough the terminal boxes were held on (or not) with hot glue - as rough as I've seen. I carefully unmounted the terminal boxes, cleaned up everything thoroughly and used Sikaflex 291 to hold them on securely.
Success! They still worked, I hadn't mucked anything up!

I was planning on having 6 of M5 bolts and spacers coming up through the hatches so that the panels were slightly free to move. When it came to mounting them I discovered that the hatches had insulation and a double skin. So I elected to go the easy way and held them on with Sikaflex 291. (This was considered unadvisable by those who I knew - know. But I figured Kismet doesn't spend all year outside so they would just have to survive. Apparently gluing them down allows them to get too hot.)

Glued down and held down overnight with various heavyish objects that I found on the boat.


The final result. The curly cord hybrid straight wiring was a construction within itself. Heatshrink, cable ties, superglue, more heat shrink and siliconed up. The curly cord was arranged so it went 310mm in either direction.
The curly cord arrangement is anchored by two P-clamps at either end. So far the jib sheets haven't caught the wiring - but it's a bit of a "lookout for" when tacking. It seems very successful and withstood 5800km of road travel well.

This picture is from the Whitsundays trip (posts soon to come). Note the 150mm long 12mm high protective pieces of hardwood on the rear part of each hatch. This prevents the diamond stays from scraping the panels during road travel. The mast really has to be raised another 30mm on the back.

Finally lots of hidden wiring and a new switch panel.
The two pieces of hardwood glued just below the switch panel support the Solar Controller.

I used 4 meters of 16 x 16mm wire duct and 4 metres of 25 x 16mm wire duct (conduit with removable lid) for the wiring. All the wiring ducts are held on with double sided adhesive tape  - WHAT you say - it's useless. Well there is a new range of this stuff that promises 1kg holding for each 3cm piece. The brand I used was Permastik 10m x 24mm White Outdoor Weather Resistant Mounting Tape. None of it has lifted so far - even the little bit I used near the outboard that sprays salt water everywhere. I did clean all surfaces with Acetone each time I used it.

The fridge was wired directly from the battery via its own fuse to an Anderson plus halfway along the cabin. The rest of the boat goes through a resettable 20A circuit breaker held to the top of the 100AH LiFePO4 battery (under the battery box cover) with - you guessed it - Permastik.

On advice from the Jarcat gurus I located the battery down on the front of the starboard side floor (I had previously planned on it being up on the foot of the bed). I placed it about 70mm back from the access port for the bow water tight cavity. The battery weights 14kg.

I can elaborate on the wiring if anyone is interested.


Thursday, 8 August 2019

Flip Up Tables

I had searched long and hard and ended up on eBay buying four Stainless Steel flip-up table brackets. You're not always sure what you will get but when they arrived they were perfect.
The tables are made of 6mm ply. Both are 500mm wide. One is 430mm deep and the other 380mm. This allows for the tapering hull distance when sitting on the "bed".

I had to special order some picture frame trim to hide the edges of the ply. I didn't take pics of clamping the trim but it was a challenge. I then glued 30 x 8mm rounded trim to the undersides at exactly 400mm centres (to match the vertical supports on the boat).

Three coats of Marine Varnish. Four on the top.

Then the brackets were screwed on (after checking with the supports on the boat and allowing about 3mm spacing outward from them.).

Get the boat level with the waterline, level the tables and screw the brackets on. Final product.

And flipped up (with 12V faucet placed in position for checking).

The tables are easily released by reaching underneath on both sides and pressing the release while slightly lifting.

Room underneath for wash bowls. The left hand one is for a larger round bowl that fits nicely (temporarily shown with Silicone jug). There is now a bungee cord that holds the tables firmly when travelling.


The front lower shelf is designed to fit these Decor containers. (Many other fit the same place.)
See also the 12V fresh water pump. A bungee cord (not shown) runs 130mm above the shelf to hold the containers in place.

So far, so good...

Saturday, 27 July 2019

Shelves on Port Side

We decided to have a single 55mm wide shelf running just under the cabin top for the full length of the port hull. This will be for those odd knick-a-knacks like keys, phones (temporarily), companionway locks etc.
Sorry, no pics of the top shelf construction but it's the same as that lower one following.

Next, the lower shelves. These were measured so the forward 1200mm of the shelf fitted Decor containers which have a 90mm base. The rear shelf 1200mm was made for two expanding Silicone wash "bowls" (one of them is rectangular).

I made the shelves from 6mm ply, then glued 8mm tri-quad to the edge. I then glued a 30mm x 3mm rounded piece to the vertical edge. It took some gymnastics with clamps to hold everything in place. The glue I have used almost thoughout the following posts is Parfix Builders Adhesive.


I sanded the top rounded edge so its more fully rounded and less likely to chip.

The shelves were given three coats of Monocel Gold (Marine Grade) - Exterior Wood Varnish in Gloss. I like this product as it's turps cleanup and the water based one I've recently tried causes ply to warp.

Plastic crate, battery box, plastic bucket and chuck of wood - holds the end of the shelf in position while the glue sets. Note the grey hull-liner installed on port and starboard sides above the stringer.

Some screws help the shelf stay in place while the glue sets as well

At around about the same time I added the hardwood vertical spacers to the table supports to both support the top shelf and ensure the tables were the correct distance out from the hull and lower shelf.

The rear lower shelf is fastened to the four vertical tables supports (more later), but the front shelf had nothing handy and I definitely did NOT want to place fasteners into the stringers of very light timber. So, I epoxied four pieces of 75 x 40 x 12mm hardwood to the hull and sandwiched the shelf between these and the stringer - as follows...

You can't see it in the picture but you can see the interesting use of clamps used as push-clamps in the pic. The shelf has four of 80 x 40 x 5mm rounded trim glued underneath to which is screwed four right angle 50 x 50mm right angle stainless steel shelf brackets. These were then screwed to the hardwood not-yet glued to the hull, adjusted for correct fit (read bend the bracket) then the hardwood epoxied to the hull and push-clamped. I exited the boat that day very gingerly.

Thursday, 11 July 2019

Table Supports and Battery Placement

I have glued in the four vertical drop-down table supports. It was a challenge getting them vertical in two planes and flat (facing viewer) on a plane as well.

The aluminium curtain rod is temporary and helps hold the supports in place to make a flat plane.
The support are 400mm apart and will allow a 100mm gap between the tables.

The next step is a 50mm shelf running the length of the cabin where the cabin roof joins the hull (at the top of the supports).
After that there will be four 18mm pieces that space the table brackets out a little more then the stainless steel hinged brackets. The tables should drop down almost vertically so they are not in the way. There will be a lower ply shelf glued to the stringer - I'm a little worried about the table supports making outward force on the stringer - but with the ply, it should be supported well.

The table tops will be 60mm down from the top shelf which allows our 12V faucet (mounted on the shelf) to just be high enough for the silicone compressible wash-up dish to go on the table - it also sets the tables at a good height for seating.


Meanwhile we have purchased a 100AH LiFePO4 (Lithium) battery which only weights 13.8kg. This will be placed on the bridge deck at the foot of the bed so it's close to the power centre of the boat. (Later note: I didn't end up putting the battery on the bridge deck. I mounted it on the floor of the starboard hull as far forward as possible.)

The off-centre nature of the placement allow for one of our folding chairs to comfortable be used on the aft drop-down table.

This is an alternative where it's a little closer to the centre.

I'll epoxy some hardwood to the bed to hold it in place and provide for the strap.

Sunday, 30 June 2019

Preparing for the Whitsundays

We have had a plan for the past year or so that if we get competent enough we would tow Kismet the 2500km to the Whitsundays (Airlie Beach) and put the boat in the water for 10 to 14 days. The few days we spent at Paynesville gave us enough hope that we can handle the Whitsundays if we are cautious and take it easy.

So since we haven't even slept aboad yet...

The interior is currently completely empty. I have been spending a bit of time designing a reasonable interior fit out.

We have already bought:
- Aeromesh for the double bed - this allows a mattress to "breath".
- A Synmat double - this is a high end inflatable mattress.
- Some 40mm eggshell foam to further improve the mattress feel.
- A double all cotton sleeping bag with separate cotton liner.
- Two 100W semi-flexible solar panels.
- A 30 Amp MPPT Solar Controller.
- A CFF45 Dometic fridge.
- A 12V Road CHEF Oven (I was VERY skeptical about this but it works - I'll devote a post to it soon).
- A better power switchboard to replace the two switches the boat came with.
- A 100AH LiFePO4 battery (A lithium battery).
- A Voltage regulator for the outboard motor alternator.
- Hull liner material.
- Four stainless steel folding brackets intended for two flip up tables.
- Two 1 meter long 8cm high cushions to make one of the "coffin" beds usable.
- A 12V pump and faucet - 4 litres per minute so pretty slow but usable.
- A selection of silicone compressible pots.
- A single burner Origo Ethanol (alcohol) stove.
- Six mini curtain tracks and 4 meters of dark blue curtain material with blackout lining.
- A 60 x 90cm aluminium table for the cockpit.
...and various other stuff.

I'll be posting more information on all of these as I fit them.

Today I finally got started on the "doing" bit and fitted hull liner to the port side upper hull section.
This will stop stuff in the yet-to-be-fitted shelves rubbing on the inner side of the hull.
The hull liner is from Whitworths and is held on with 3M 76 Hi-tack Spray Adhesive. I used this adhesive on the Vogue (car) boot and bonnet insulation with great success. It's rated for prolonged exposure to temperatures up to 71 degrees C.

Before

After

The piece of timber being held by one of our cockpit chairs is one of four vertical supports that will be the basis for the table supports. There will be two 500mm wide flip up tables. I had to glue this one in first so I could get a straight line from the first to the fourth support. Getting these vertical in both planes plus a flat plane to mount the brackets on is a challenge.

Hopefully I'll put the other three in tomorrow.

Laurel has also made up two daggerboard bags from windcheater fabric. You can see them under our chairs in the port coffin bed. This makes stowing the daggerboards for road travel a lot less stressful.
I'll probably floor the front half of the coffin bed like I already did the starboard side to make them fit better - but it works well enough as is.